
Are you tired of your own team’s visits skewing your website analytics? Google Analytics IP filters are the solution you need to ensure your data accurately reflects genuine visitor behavior. By filtering out internal traffic from your employees, developers, and marketing team, you’ll get cleaner data that helps you make better business decisions.
In this comprehensive guide, I’ll walk you through exactly how to set up Google Analytics IP filters, from identifying which addresses to exclude to implementing and verifying your filters work correctly.
Whether you’re new to Google Analytics or looking to refine your existing setup, these step-by-step instructions will help you create a more accurate picture of your website’s performance.
Table of Contents
Understanding Google Analytics IP Filters: Why They Matter
Have you ever wondered why your website traffic spikes on days when your team is working on updates? Those aren’t real visitors—that’s your own team skewing your data! This is exactly why Google Analytics IP filters are so important for businesses of all sizes.
What Are Google Analytics IP Filters? 🔍
Google Analytics IP filters allow you to exclude specific IP addresses from your analytics data. Think of them as bouncers for your data—they keep the party exclusive by only letting in legitimate visitors.
Your marketing decisions should be based on real user behavior, not on how often your developers check their work. With properly configured Google Analytics IP filters, you can:
- Remove internal traffic from your team members 👩💻
- Exclude traffic from contractors or agencies you work with 🤝
- Filter out your own visits when working remotely 🏠
- Block spam traffic from known problematic sources 🛑
The cleaner your data, the better your decisions will be. It’s that simple!
Why Filtering Internal Traffic Matters for Your Business 📊
Unfiltered analytics data can lead to some seriously misleading conclusions. Let me show you what can happen when you don’t use Google Analytics IP filters:
| Metric | With Internal Traffic | Without Internal Traffic | Potential Impact |
| Bounce Rate | 45% | 65% | Underestimating user engagement issues |
| Avg. Session Duration | 3:45 | 2:10 | False confidence in content quality |
| Conversion Rate | 2.8% | 1.9% | Inaccurate ROI calculations |
Shocking differences, right? Your team’s behavior is nothing like your actual customers. Your colleagues might browse multiple pages, stay longer, or even test checkout processes repeatedly.
This skewed data could have you believing your site performs better than it actually does. Not ideal when you’re making budget decisions based on these numbers!
How Google Analytics IP Filters Improve Your Marketing ROI 💰
Let’s talk money. Every marketing dollar counts, and accurate data helps you spend wisely. Google Analytics IP filters ensure you’re optimizing for real users, not your own team.
When you filter out internal traffic, you’ll get:
- More accurate conversion tracking for your campaigns
- Better understanding of which content actually engages customers
- Clearer picture of real user journeys through your website
- More reliable A/B test results without team interference
You wouldn’t count your own votes in an election, so why count your own visits in your analytics? Setting up Google Analytics IP filters takes just minutes but saves you from potentially costly marketing mistakes.
Good analytics is about quality, not quantity. Ten visitors who represent your target audience provide more valuable insights than a hundred visits from your development team. Google Analytics IP filters help you focus on the data that truly matters.
Remember that one time you launched a new feature and got excited about the immediate traffic spike? It was probably just your team checking things out! With IP filters in place, you’ll see the true impact of your launches.
The beauty of Google Analytics IP filters is their simplicity. Once set up correctly, they work silently in the background, keeping your data clean and reliable. You’ll wonder how you ever made decisions without them!
Preparing for IP Filter Setup: What You Need to Know First
Before diving into the technical setup of Google Analytics IP filters, you need to do some prep work. Getting organized now will save you headaches later and ensure your filters work correctly from day one.
How to Find the IP Addresses You Need to Filter 🔎
First things first—you need to know which IP addresses to filter out of your Google Analytics data. This step is crucial for accurate filtering and shouldn’t be skipped.
Here’s how you can find the relevant IP addresses for your Google Analytics IP filter setup:
- Ask your IT team for a list of company IP addresses (fastest method) 💻
- Use a simple “What’s my IP” search on each device/network you want to filter 🔍
- Check with remote workers about their home network IPs if they access your site often 🏠
- Don’t forget about regular contractors who might frequently visit your site! 👥
Remember that IP addresses can be either static (they stay the same) or dynamic (they change periodically). Most business networks use static IPs, making them perfect for Google Analytics IP filters.
The trickier part comes with remote workers whose home IPs might change. You might need to update your Google Analytics IP filters periodically if you have many remote team members.
Types of Google Analytics IP Filters You Can Create 📋
Google Analytics offers several filtering options, and choosing the right one depends on your specific needs. Let’s explore your options:
| Filter Type | Best For | Limitations |
| Predefined Filters | Beginners | Limited customization options |
| Custom Filters | Advanced needs | Requires more technical knowledge |
| Include Filters | Focusing on specific traffic | Can miss important data if set up incorrectly |
| Exclude Filters | Removing internal traffic | Most common for IP filtering |
Most companies use exclude filters for their Google Analytics IP filter setup. This type lets you remove specific traffic while keeping everything else intact.
Custom filters give you more control but require a better understanding of regular expressions if you need to filter multiple IPs at once.
Important Filter Limitations You Should Know About ⚠️
Google Analytics IP filters are powerful tools, but they do have some limitations you should be aware of before setting them up:
- Filters only affect data moving forward—not historical data
- You can have a maximum of 50 filters per view in Google Analytics
- Once data is filtered out, it cannot be recovered (create an unfiltered view!)
- IP address changes will require filter updates
- Filters are applied in the order they appear in your settings
That last point is especially important! The sequence of your Google Analytics IP filters matters because they’re applied in order from top to bottom.
Creating a Filter Testing Strategy 🧪
Smart analysts never apply filters directly to their main view without testing first. Here’s a quick testing strategy for your Google Analytics IP filter implementation:
- Create a test view in your Google Analytics property
- Apply your planned IP filters to this test view only
- Wait 24-48 hours to collect some filtered data
- Compare the filtered test view with your main view
- Check if the differences match your expectations
This careful approach ensures your Google Analytics IP filters work correctly before you apply them to your main reporting view.
Gathering the Resources You’ll Need 📝
Before we move to the actual setup process, make sure you have everything ready:
- A list of all IP addresses you want to filter
- Admin access to your Google Analytics account
- Understanding of which views should have filters applied
- A backup of your current Google Analytics settings (just in case)
- A few minutes of uninterrupted time to focus on the setup
With all these preparations complete, you’re now ready to move on to the actual Google Analytics IP filter setup process. Being prepared makes the technical implementation much smoother!
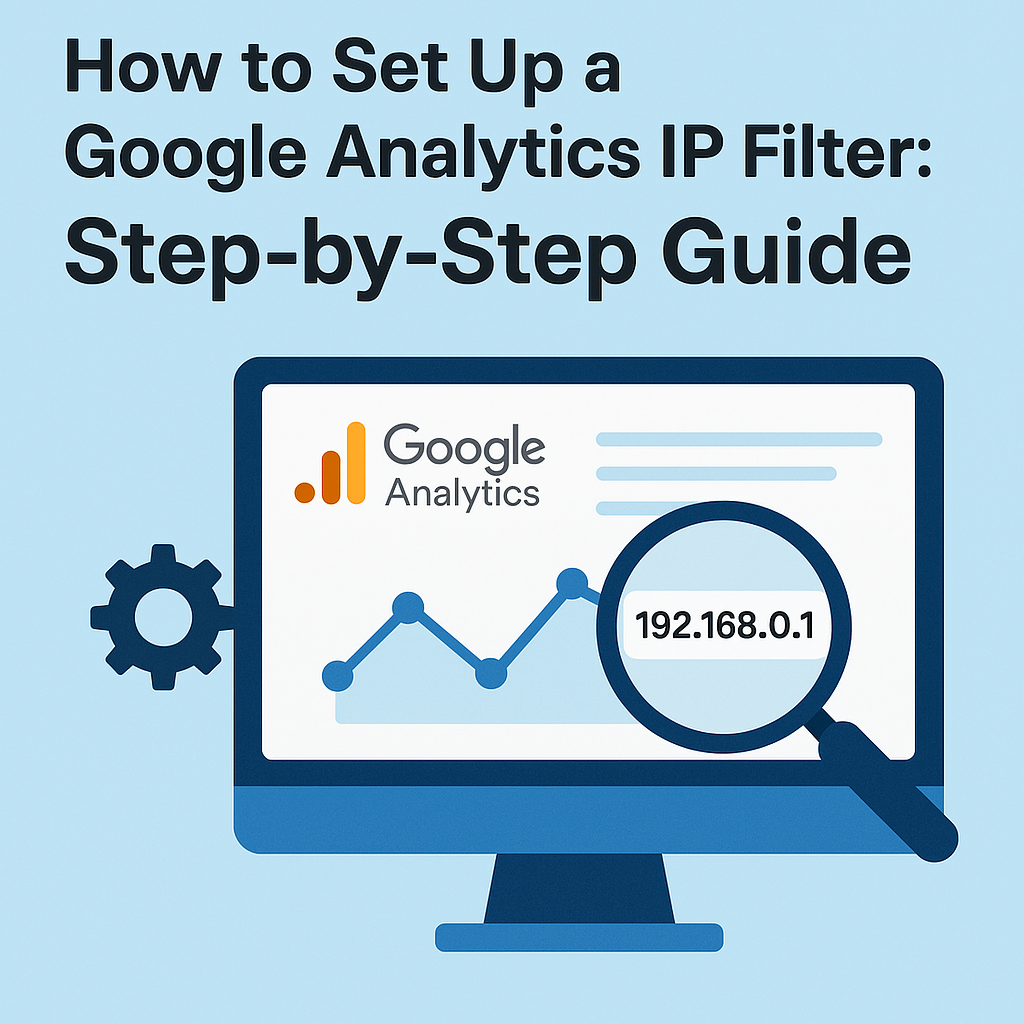
Step-by-Step Guide to Creating Google Analytics IP Filters
Now that you’ve gathered your IP addresses and understood the basics, it’s time to get your hands dirty. This section walks you through the exact steps to set up Google Analytics IP filters correctly the first time.
Accessing the Google Analytics Admin Panel 🔑
Before creating any filters, you need to navigate to the right place in your Google Analytics account:
- Log into your Google Analytics account
- Click on the “Admin” gear icon in the bottom left corner
- Make sure you have the correct Account and Property selected
- In the View column, click on “Filters”
- Click the “+ Add Filter” button to begin
The admin interface might seem intimidating if you’re new to Google Analytics IP filters. Don’t worry! The next steps will break down exactly what to do.
Creating Your First IP Exclusion Filter 🚫
Let’s create a basic filter to exclude your office IP address from your analytics data:
- Give your filter a descriptive name (e.g., “Exclude Office IP”)
- Select “Predefined” as the Filter Type
- Choose “Exclude” from the first dropdown
- Select “traffic from the IP addresses” from the second dropdown
- Select “that are equal to” from the third dropdown
- Enter the IP address you want to filter (e.g., 203.0.113.1)
- Click “Save” to apply your filter
Your Google Analytics IP filter will start working immediately, but it only affects new data coming in. Any previous visits from that IP address will remain in your historical data.
If you need to filter out an entire range of IP addresses instead of just one, you’ll need to use a slightly different approach with regular expressions.
Setting Up IP Range Filters with Regular Expressions 🔢
When you need to filter multiple IPs or an entire range, regular expressions (regex) come to the rescue:
| Scenario | Example IP | Regex Pattern to Use |
| Single IP | 203.0.113.1 | ^203.0.113.1$ |
| IP Range | 203.0.113.1-20 | ^203.0.113.([1-9] |
| Multiple Office IPs | Various | ^203.0.113.1$|^198.51.100.5$ |
To implement a regex filter for Google Analytics IP filtering:
- Name your filter (e.g., “Exclude Office IP Range”)
- Select “Custom” as the Filter Type
- Choose “Exclude” from the dropdown
- Select “IP Address” as the Filter Field
- Enter your regex pattern in the Filter Pattern field
- Click “Save” to apply the filter
The backslashes in the pattern escape the dots in the IP address since dots have special meaning in regex. Don’t skip them or your filter won’t work correctly!
Creating Verification Filters for Peace of Mind ✅
Smart analysts often create verification filters alongside their exclusion filters. This helps confirm your Google Analytics IP filter is working as expected:
- Create a new view called “IP Filter Testing”
- Add an “Include only” filter for your office IP
- Wait 24 hours
- Check this view—you should ONLY see internal traffic
- Check your filtered view—you should see NO internal traffic
This simple verification step can save you from discovering filter problems months later when your data is already compromised.
Managing and Updating Your IP Filters Over Time 🔄
Google Analytics IP filters aren’t “set it and forget it” tools. They require occasional maintenance:
- Review your filters quarterly to ensure they’re still working
- Update filters when office locations or networks change
- Check filtered views against unfiltered views periodically
- Document all filter changes in a separate document or spreadsheet
- Train new team members on your filtering strategy
Remember that Google Analytics allows filters to be temporarily disabled rather than deleted. This comes in handy when troubleshooting analytics issues!
For companies with complex setups, consider creating a Google Analytics IP filter audit calendar to ensure regular maintenance.
Your filtering strategy should evolve as your business grows. What works for a small startup might not be sufficient for a multi-location enterprise with hundreds of employees. By following these detailed steps, you’ll have rock-solid Google Analytics IP filters that keep your data clean and accurate for better decision-making.
Verifying Your Google Analytics IP Filter Implementation
Setting up Google Analytics IP filters is only half the battle. Now you need to make sure they’re actually working! This section shows you how to verify your filters are doing their job correctly.
How to Test Your Google Analytics IP Filters 🧪
Testing your filters doesn’t have to be complicated. Here’s a simple process anyone can follow:
- Visit your website from the IP address you’ve filtered
- Browse several pages to generate multiple pageviews
- Wait 24-48 hours for Google Analytics to process the data
- Check your filtered view to confirm your visits aren’t appearing
- Check your unfiltered view to confirm the same visits ARE appearing
The key is patience! Google Analytics doesn’t display data instantly. Your verification tests need at least a day to show accurate results.
Many Google Analytics users make the mistake of trying to verify their IP filters immediately after setting them up. This almost always leads to false conclusions about whether the filters are working.
Common Signs Your Google Analytics IP Filter Isn’t Working ⚠️
Even carefully set up filters can sometimes fail. Watch for these warning signs that your Google Analytics IP filter might not be working:
- Traffic levels remain unchanged after filtering supposed high-volume internal IPs
- You can still see your own visits in real-time reports from filtered IPs
- Specific behavior patterns typical of your team still appear in reports
- Filter verification tests show your internal visits in filtered views
- Unusual spike in direct traffic when filters should be active
If you spot any of these red flags, don’t panic! The table below outlines common problems and fixes:
| Problem | Likely Cause | Solution |
| Filter has no effect | Wrong IP address entered | Double-check all IPs with “What’s my IP” |
| Some internal traffic still appears | Dynamic IPs or mobile access | Add additional filters for remote access points |
| Filter works sometimes | Order of filter application | Check filter sequence in GA settings |
| All traffic disappeared | Too aggressive filtering | Review regex patterns for errors |
| Data looks weird after filtering | View lacks other necessary filters | Add lowercase, search/replace filters as needed |
Remember that Google Analytics IP filters work on new data only, so historical data will still contain your internal traffic.
Using Real-Time Reports for Instant Filter Verification 📊
While most filter verification requires patience, the Real-Time reports can give you a quick initial check:
- Apply your Google Analytics IP filter to a test view
- Open the Real-Time reports in both your filtered and unfiltered views
- Visit your website from the IP you’re trying to filter
- Check if you appear in the unfiltered view (you should)
- Check if you appear in the filtered view (you shouldn’t)
This method isn’t perfect since Real-Time reports have their own quirks, but it can give you a quick sanity check while waiting for the standard reports to update.
Creating a Filtered vs. Unfiltered Comparison Dashboard 📈
For ongoing verification, consider creating a custom dashboard that compares key metrics between your filtered and unfiltered views:
- Total sessions (should be lower in filtered view)
- Average session duration (may change significantly)
- Bounce rate (often changes when internal traffic is removed)
- Top content (may reveal pages frequently visited by your team)
- Traffic sources (direct traffic often decreases with filtering)
Set this dashboard to email you weekly or monthly reports so you can spot any sudden changes that might indicate filter problems.
Google Analytics IP filters sometimes need adjustment as your company grows or changes. This comparison dashboard makes it easy to spot when it’s time to update your filters.
Documenting Your Google Analytics IP Filter Configuration 📝
The final step in verification is proper documentation. Create a simple document that includes:
- All IP addresses being filtered
- Filter names and types used
- Date each filter was implemented
- Who is responsible for maintaining filters
- Schedule for reviewing filter effectiveness
- Verification process steps for future team members
This documentation ensures your Google Analytics IP filter strategy survives team changes and helps with troubleshooting if issues arise later.
Remember that verification isn’t a one-time task but an ongoing process to ensure your analytics data remains clean and reliable!
Advanced Google Analytics IP Filter Strategies
Now that you’ve mastered the basics of Google Analytics IP filters, it’s time to level up your skills. These advanced strategies will help you handle complex situations and get even more accurate data.
Combining IP Filters with Other Filter Types 🔄
Google Analytics IP filters work even better when combined with other filter types. Here’s how you can create a powerful filtering strategy:
- Pair IP filters with hostname filters to block ghost spam
- Combine IP exclusions with lowercase filters for consistent campaign tracking
- Use IP filters alongside search-and-replace filters to clean up messy URLs
- Apply IP filters with custom dimension filters for advanced segmentation
- Create filter sequences that clean data in the correct order
The magic happens when these filters work together! For example, applying a lowercase filter after your Google Analytics IP filter ensures campaign parameters are consistent regardless of case.
Remember that Google Analytics processes filters in sequence from top to bottom. Always place your IP filters near the top of your filter list for best results.
Using Regular Expressions for Complex IP Filtering Needs 📝
For companies with dozens or hundreds of IPs to filter, basic filters won’t cut it. Advanced regex patterns can handle complex Google Analytics IP filter requirements:
| Scenario | Example Regex Pattern |
| Multiple office locations | ^192.168.1.([1-9]|[1-9][0-9])|^10.10.([0-9]|[1-9][0-9]).[0-9]{1,3}$ |
| Excluding specific subnet | ^192.168.10.(([0-9]|[1-9][0-9]|1[0-9][0-9]|2[0-4][0-9]|25[0-5]))$ |
| Country-specific IPs | Use regex patterns that match country-specific IP ranges |
These patterns look intimidating at first glance but save enormous time when managing multiple IP ranges in your Google Analytics IP filter configuration.
For the regex beginners among us, several online tools can help generate these patterns based on your specific IP ranges. No need to memorize the syntax!
Creating View-Specific IP Filtering Strategies 🔍
Different stakeholders need different views of your data. Consider these specialized Google Analytics IP filter strategies for different views:
- Executive View: Filter all internal IPs plus known bots and spam
- Marketing View: Filter internal IPs but show agency partner traffic
- Development View: Keep developer IPs but filter other internal traffic
- Raw Data View: No filters at all (always maintain this as a backup!)
- Testing View: Only show internal IPs (great for QA verification)
This multi-view approach gives different teams exactly the data they need without compromising anyone’s reporting accuracy.
Just be sure to clearly name each view and document which Google Analytics IP filters are applied to avoid confusion across teams.
Automating IP Filter Updates with Google Analytics API 🤖
For large organizations with frequently changing IP addresses, manual updates become tedious. The Google Analytics API offers a solution:
- Connect to the Google Analytics Management API
- Write scripts to update IP filters automatically
- Schedule regular synchronization with your IT department’s IP database
- Create logs of all filter changes for audit purposes
- Set up alerts for filter update failures
This automated approach to Google Analytics IP filter management works especially well for companies with multiple office locations or large remote workforces.
You don’t need to be a coding expert—many third-party tools can help manage this process with simple interfaces.
Future-Proofing Your IP Filtering Strategy 🔮
As Google Analytics evolves, so should your filtering strategy. Here are some forward-thinking tips:
- Consider moving toward Google Analytics 4 filtering methods
- Explore server-side filtering options for more control
- Document your current Google Analytics IP filter setup extensively
- Create contingency plans for major network changes
- Build regular filter audits into your analytics workflow
The most effective Google Analytics IP filter strategies anticipate change rather than just reacting to it.
Remember that filtering technology and best practices continue to evolve. What works perfectly today might need adjustment as Google releases new features and capabilities.
By implementing these advanced strategies, you’ll create a robust Google Analytics IP filter system that delivers exceptionally clean data for better business decisions.